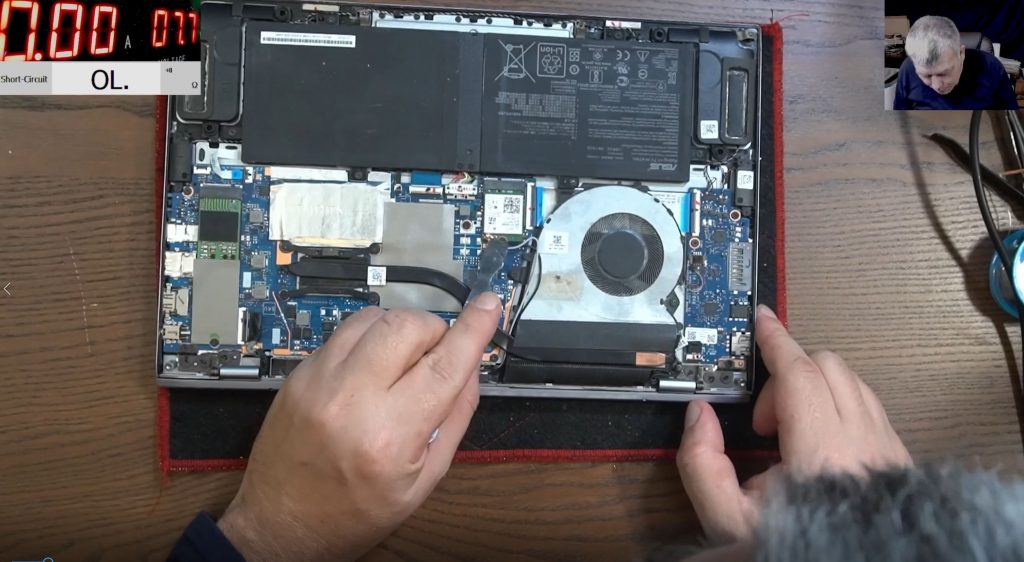
This blog post walks you through the diagnosis and repair of a MacBook A1502 (820-4924) motherboard. The laptop was completely dead — no power, no charger light, and a broken power button. Let’s see how the repair was done step-by-step.
Hmmm….. Apple stuff, high technology packed with top hardware and style. I know, looks complicated and indeed it is IF you don’t have the right tools and schematic diagrams in order to perform repairs. Actually the electronics is a universal language and this open a easy approach to any kind of electronics repair no matter the brand name or device type. In the video attached a MacBook pro logic board repair is carried out, Enjoy the video!
And remember, if you ever need repair services, don’t hesitate to reach out to Sorin electronics UK repair services. We’re here to help!
🔧 Initial Assessment
- Model: MacBook A1502 (820-4924)
- Issue: No power, no charging light
- External Condition: No liquid damage, just dust
- Charger Test: No light when plugged in
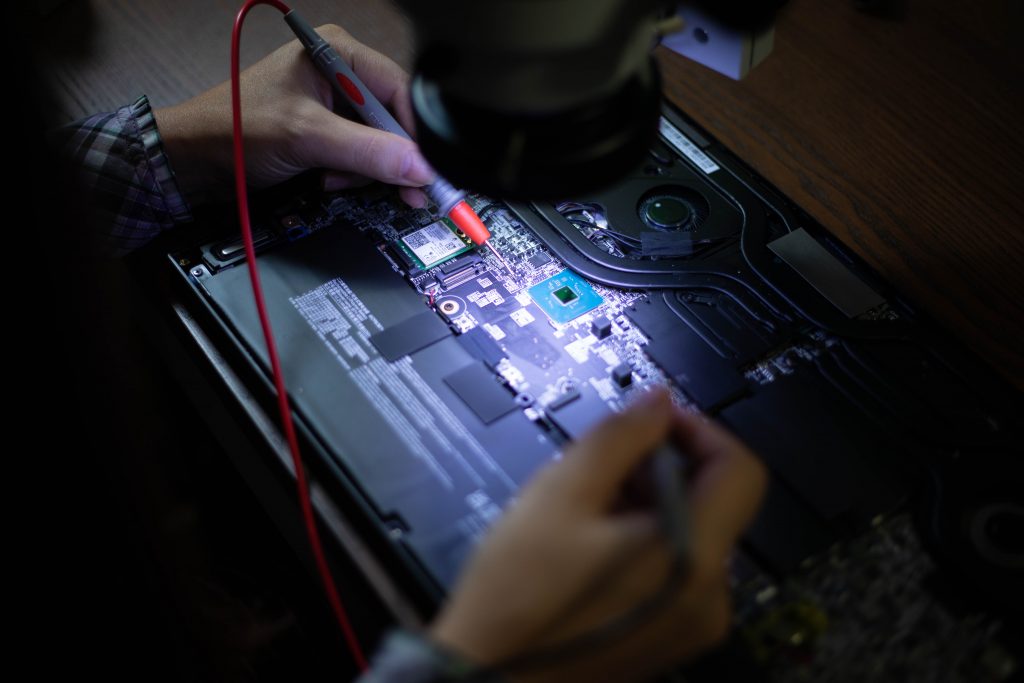
🔍 Step 1: Check the Input Power (19V)
- Measured voltage from charger input: 19V present
- Indicates charger and charging port are functioning correctly
🔋 Step 2: Check the 3.4V Power Rail
- Key Component: Dual diode (D7005)
- Expected: One side should show 19V, other side the output voltage
- Reality: Both sides showed 0V initially
Diagnosing Further:
- Checked upstream MOSFET (Q7010)
- No voltage on any pins
- Conclusion: Input fuse blown
🚒 Step 3: Replace the Input Fuse
- Fuse confirmed blown; replaced using calibrated wire
- After replacement:
- Input voltage restored
- Still no boot or charging light
📉 Step 4: Power Rail Verification
- 3.4V Rail: Now present (measured at L7095 coil)
- Next, verify the main power rail generated by power management IC
💡 Step 5: Diagnose Main Power Rail Issue
- Identified power management chip as faulty (shorted)
- Symptoms:
- Input voltage (18.7V) present on one side of resistor, but 0V on other side
- Injecting 5V resulted in high current draw (370mA)
- IC was heating up
Conclusion:
- Power management chip (handles main rail & MOSFETs) was shorted
🛠️ Step 6: Replace Power Management Chip
- Desoldered and replaced faulty power IC with one from donor board
- After replacement:
- Injected 5V again → current draw reduced to 20mA (normal)
- Plugged in charger → charger light came on
🚀 Final Test
- Reassembled logic board and components
- Laptop powered on successfully
- Guest user screen appeared — confirming full functionality
🔹 Key Takeaways
- MacBook logic board repairs are straightforward with schematics and board view tools
- Common fault areas:
- Input fuse
- 3.4V power rail (diode issues)
- Main power management chip
- Don’t overlook basic diagnostics like checking fuse continuity and voltage rails
- Always test current draw after injecting power to confirm shorts
🎞️ Common MacBook Issues to Watch For
- Backlight failures
- Dual diode shorts (input to 3.4V rail)
- Power management IC failures
📹 Watch the full repair on YouTube:
MacBook A1502 Logic Board Repair – 820-4924
https://www.youtube.com/watch?v=xZkcdI6ye8Q
Found this helpful?
🔔 Subscribe for more MacBook logic board repairs and deep-dive electronics diagnostics.