In this post, we’ll walk through a real-world Samsung Galaxy S10+ data recovery job. This isn’t a typical phone repair—data recovery requires extra care, precision, and patience. The ultimate goal is not just to fix the phone, but to recover important data without causing further damage.
📌 Key Differences in Data Recovery Jobs
-
Goal: Retrieve data, not necessarily restore full phone functionality.
-
No rush: Time is billed based on effort, not fixed pricing.
-
No room for error: Creating additional damage may result in permanent data loss.
“If I cannot fix it, maybe someone else can. But if I damage it, no one will recover the data.”
🧪 Initial Inspection & Diagnosis
🔍 Step 1: Physical Inspection
-
Phone: Samsung S10+ with a cracked screen.
-
Customer reported the phone was working with the damaged screen before going dead.
-
Screen shop refused to replace the screen as the phone was non-functional.
🔧 Step 2: Basic Testing
-
Plugged into power supply: 5V / 0.1A draw (stable).
-
Battery voltage: 1.8V (too low).
-
When supplying 3V manually, phone drew 40mA, indicating a possible hardware fault.
🔬 Logic Board Diagnosis
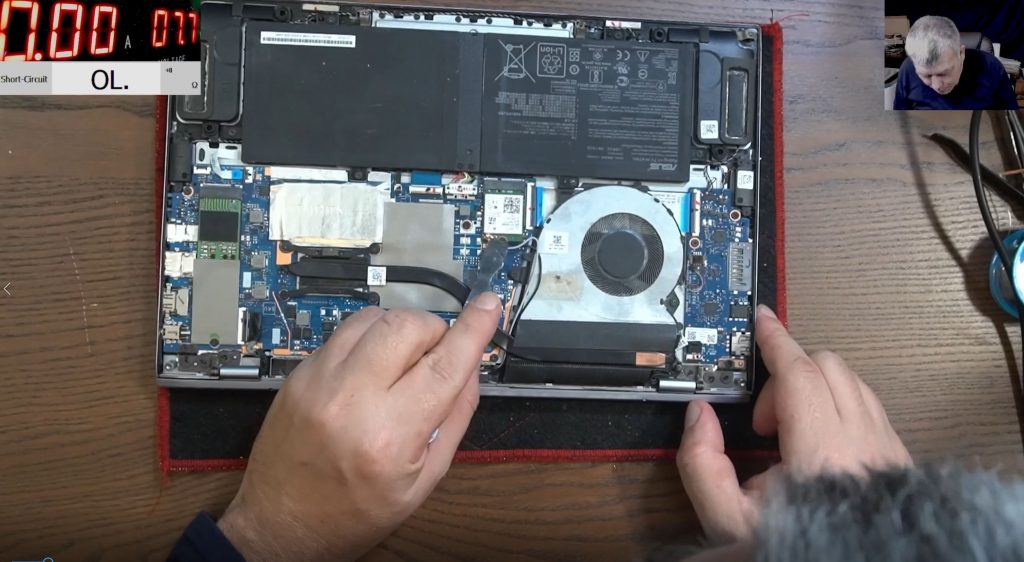
🔍 Step 3: Visual Inspection
-
Board appears untouched, no obvious liquid damage.
-
Some signs of previous soldering attempts—potential red flag.
📈 Step 4: Tracing the Power Issue
-
Thermal imaging shows no immediate hot spots.
-
Analysis shows the 40mA current draw is after a switching power supply, suggesting a regulated fault.
⚡ Finding the Short
📍 Short Detected
-
Detected a short on V-BAT power rail via capacitor C4002.
-
Used multimeter to confirm low resistance: ~0.02 ohms.
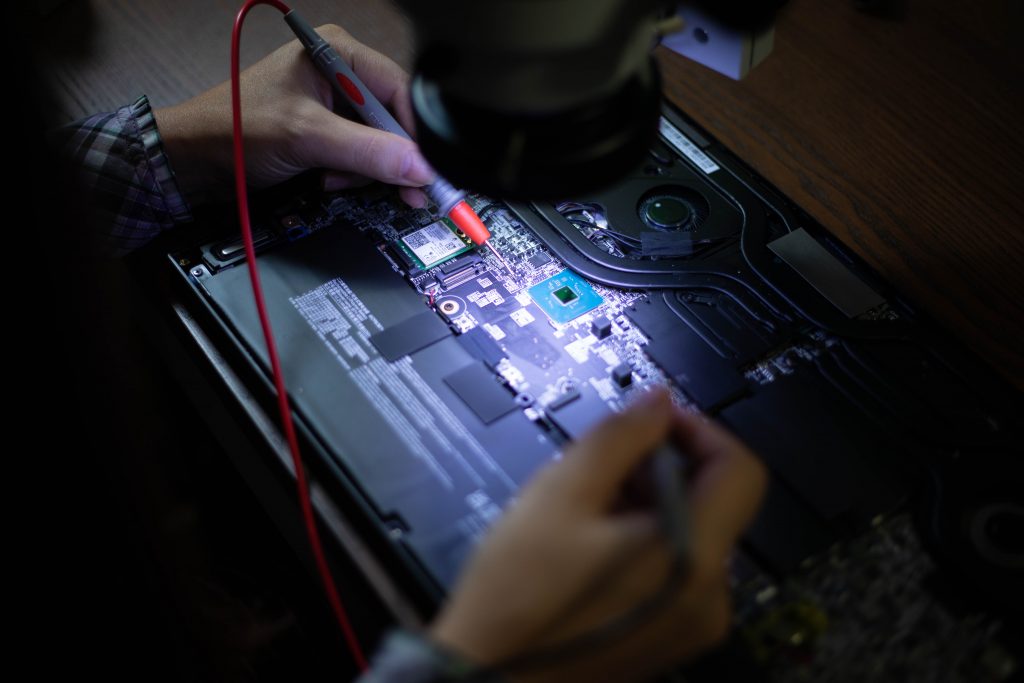
🛠️ Step 5: Low-Voltage Injection
-
Injected 0.5V–1.5V up to 2A to trace heat buildup.
-
Found a capacitor heating up on the backside of the board.
🔧 Step 6: Component Removal
-
Removed the suspected faulty capacitor.
-
Retested and confirmed: Short was gone.
🧩 Final Troubleshooting & Fix
✅ Testing After Removal
-
No current draw from power supply – good sign.
-
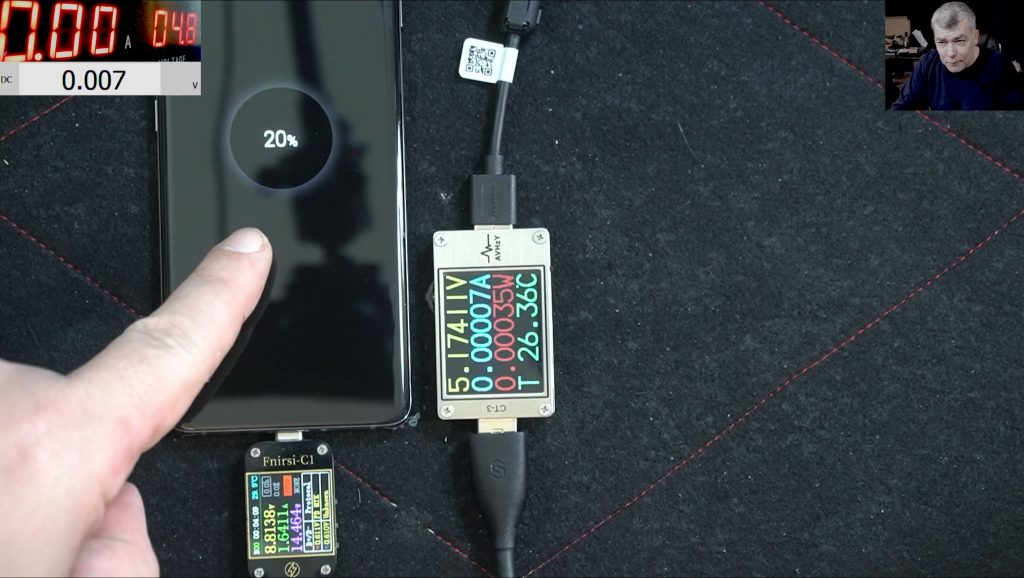
Charged the battery to 3.6V using external power supply.
⚠️ BUT—Phone still didn’t start.
-
Power button showed a response (140mA spike when pressed).
-
Indicates boot sequence was initiating, but phone wouldn’t power up.
💡 The Fix
-
Replaced the removed capacitor with a new one.
-
After replacement, the phone booted successfully.
📦 Results & Takeaway
-
Data was successfully recovered.
-
Root cause: Faulty capacitor on the V-BAT power line.
-
Total fix: Remove and replace a single shorted capacitor.
📚 Key Lessons
-
Shorted capacitors are common faults in both phones and laptops.
-
Removing a capacitor may stop the short, but some are essential for booting.
-
Always test after removal. If the device still doesn’t start, consider replacing the component.
💡 Pro Tip: Safe Troubleshooting Steps
-
Start with multimeter tests – check resistance and current draw.
-
Use low-voltage injection to avoid further damage.
-
Thermal camera helps pinpoint heat from shorted components.
-
Always test before and after component removal.
-
Be cautious with power supply—never go in blind.
🎉 Success!
This was a successful data recovery job where we avoided any unnecessary risks and logically isolated the fault. Remember: data recovery requires a gentle and smart approach.