Laptops or minicomputers are very common on those days, almost everyone has one and usually a mechanical or liquid damage is inevitable. Fixing laptops is part of the job in a computer repair business and ‘repair’ can mean something else for each one of us. A repair means a laptop motherboard replacement or a motherboard repair, down to components level, that’s why i believe asking for a quote is always a good idea. Personal i can go very deep in saving the customer money and i’m not speaking about a motherboard repair, but even in a insane repairs like a screen, battery, cables, connector repair, parts which usually most of the repairs shops they will replace. Some people it will call a job like this ‘dodgy’ , but i prefer to call this ‘going one extra mile for the customer’. Enjoy the video!
How a Hard Laptop Repair Looks Like: ASUS UM431D Water Damage Repair
In this blog post, we’ll walk through a real-life, in-depth repair process of an ASUS UM431D ZenBook affected by liquid damage, showcasing detailed troubleshooting steps, clever repair tricks, and a touch of technical improvisation. This case came from Gibraltar, making it the first international repair job featured in the shop.
📦 Background & Initial Inspection
- Model: ASUS UM431D ZenBook (Ryzen 7, Radeon Graphics)
- Issue: Laptop not powering on, suspected water damage.
- Initial condition:
- Previously opened and poorly handled.
- Screen connector showed signs of damage.
- No visible water damage on the motherboard side.
🔍 Diagnosis: Finding the Culprit
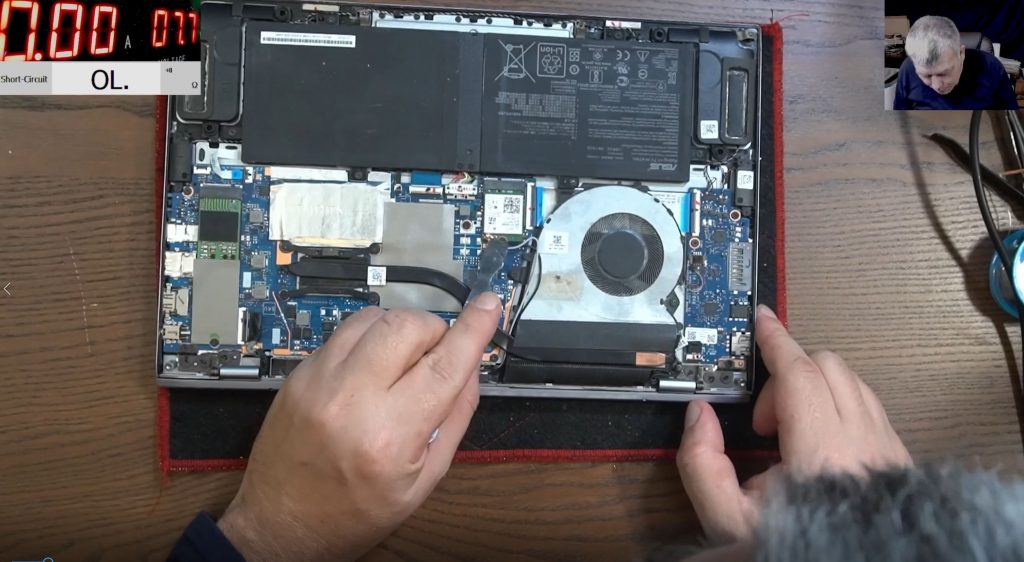
- Power Test (without screen):
- Plugged into power supply.
- Board started and drew 1 amp — indicating it was working.
- Power Test (with screen):
- Power supply flickered and voltage dropped.
- Diagnosis: Short circuit in the screen assembly.
- Disassembly of Screen:
- Bezel removal was tricky — risk of damaging the LCD layer.
- Screen glued to the metal backplate.
- Required careful heat application and patience.
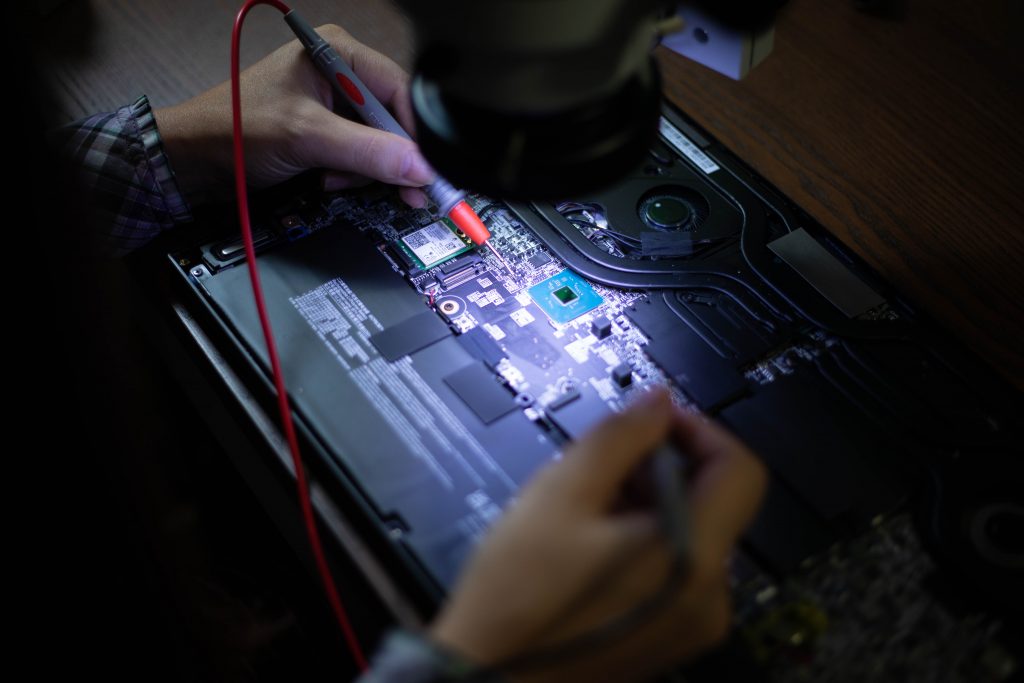
- Connector Inspection:
- Result: Screen connector was visibly corroded and had burned pins.
- Liquid signs and green residue confirmed water damage.
🛠 Repair & Recovery
Step 1: Bypassing the Faulty Pins
- The 19V pins in the screen ribbon were bypassed.
- Wires soldered directly from known-good lines.
- Ensured no short circuits before powering up.
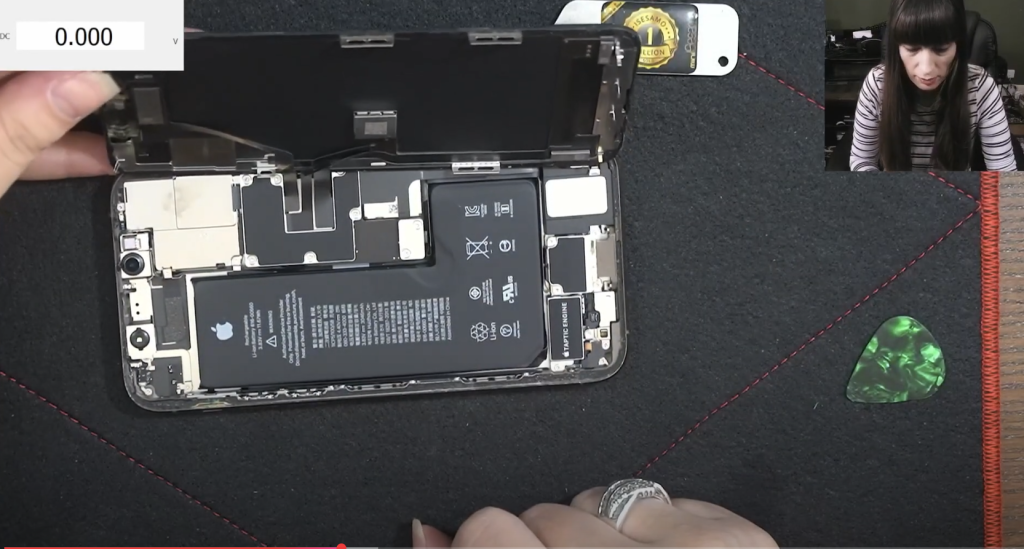
Step 2: Testing Display & GPU
- Powered the board with the modified screen cable.
- Result: Laptop powered on, and the screen worked with no lines or artifacts.
Step 3: Wi-Fi Antenna Fix
- Damaged antenna cable was directly soldered (bypassing connector).
- Signal tested — full bars achieved.
- Note: Soldered RF connections perform better than factory connectors.
⚡️ Charger Issue: Going the Extra Mile
- Charger intermittently failed to deliver 19V.
- Cut open and resoldered the charger’s DC plug to restore functionality.
- Tested for stability and added insulation.
✅ Final Test & Results
- Keyboard, mouse, and display fully functional.
- Wi-Fi signal strong.
- Laptop charging normally.
- All faults resolved with no replacement parts.
💬 Key Takeaways
- Water damage doesn’t always affect the motherboard. Check connectors!
- Bypassing damaged power lines can save a device — and money.
- Direct soldering is often stronger and more reliable than connectors.
- Customer trust matters. Going the extra mile with a dodgy charger fix makes a difference.
“It’s not just about fixing it — it’s about the satisfaction in doing it properly.”
If you enjoyed this repair walkthrough, like and subscribe to support more real-world electronic repair content.
If you need a Laptop Repair, you know who to call now.